
Golf Instruction
How to Fix a Slice Yourself
There is an easy way to fix your slice yourself but you have to start with a clean slate. By following this advice I promise this will work. I have used this concept while coaching my students for years and know firsthand how well it works.
The first and most important thing is forgetting all the tips you’ve collected, articles you have read, and DVDs that you have watched. It is time for a fresh, simple start with an open mind.
There are Three Types of Slices
- A push slice where the ball starts right and curves farther right.
- A straight slice (yes) where the ball starts straight at the target and curves right.
- A pull slice (the most common) where the ball starts left and curves right.
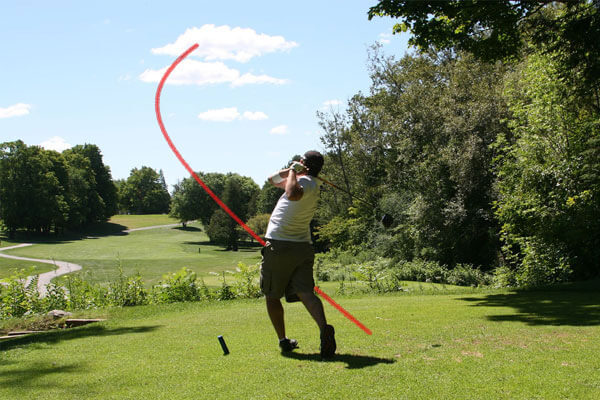
The only thing all three have in common is that the ball curves right (for a righty golfer). This is the first thing that you have to fix. Once you fix that the path will pretty much fix itself.
Ask yourself one simple question – why does the ball curve right? The answer is simple. The club face is open at impact. Open means facing right of the direction it is traveling.
Now the question is how do I fix this? There are two ways to do this and you have to figure out which one works best for you. Since I am not there talking to you and watching you swing I can’t answer it for you nor can anyone else.
The First Way to Fix Your Slice
The first way is to experiment with how you grip the club. Since the face is facing right at impact you need to turn the club more to the left as you grip it. This may look odd to you but it is just simply not what you are used to looking at. It is not wrong – it is just different. Keep experimenting with it until the ball stops curving.
The Second Way to Fix Your Slice
The second way does not require a grip adjustment. It requires the hands rotating the face square. Hold both your arms straight out with your palms together and your thumbs pointing straight up. Now rotate your hands until the back of the right hand points at the floor. This is your hand position at the top of your back swing. Now rotate them the other way until the back of your left hand points at the ground. That is your position right after impact. Now put them together as if you are gripping the club and rotate them the same way. Now do it with a club in your hands. Remember what that feels like. This is how you really learn – by seeing, doing, and relating.
It is that simple, but I suggest that when you first try to hit a balls that way do it with a 6 or 7 iron with the ball on a tee and short, slow swing. You only want to hit the ball 30 or 40 yards at first until you are comfortable with the motion.
If you have trouble doing this you are either holding the club too tight or waiting too late to rotate. Relax both your hands and your arms. You know how to do it without holding a club and the motion is exactly the same.
Please feel free to ask questions or leave comments. I love hearing from the readers.
Cover Photo via Flickr


LIV Golf is in Trouble Again

Unwritten Rules of Playing a Private Golf Club

7 Hidden Gem Golf Resorts (You’ve Probably Never Heard of)

Is the Uneekor Eye Mini Lite the Best Niche Launch Monitor?

The PGA TOUR Just Announced More Big Changes
7 Hidden Gem Golf Resorts (You’ve Probably Never Heard of)
The PGA TOUR Just Announced More Big Changes
Unwritten Rules of Playing a Private Golf Club
Is the Uneekor Eye Mini Lite the Best Niche Launch Monitor?
LIV Golf is in Trouble Again

We Played This Old Golf Course Where Thomas Edison Was A Member

Are You MEASURING Your Golf Swing Correctly? (This Can Help)

Zach Johnson Explains Why He Didn’t Pick Bryson DeChambeau for the Ryder Cup

Justin Thomas FIRES Coach before Ryder Cup…Who’s Next?

I’m going to send this to my 16 y.o. My son is a lefty but feels comfortable playing right handed. He slices the ball to the right and geets frustrated. Hopefully this will work.